El Camino Central Forum banner

'67 El Camino re-do

1 reading
54K views 192 replies 30 participants last post by  HandOverFist  
#1 ·
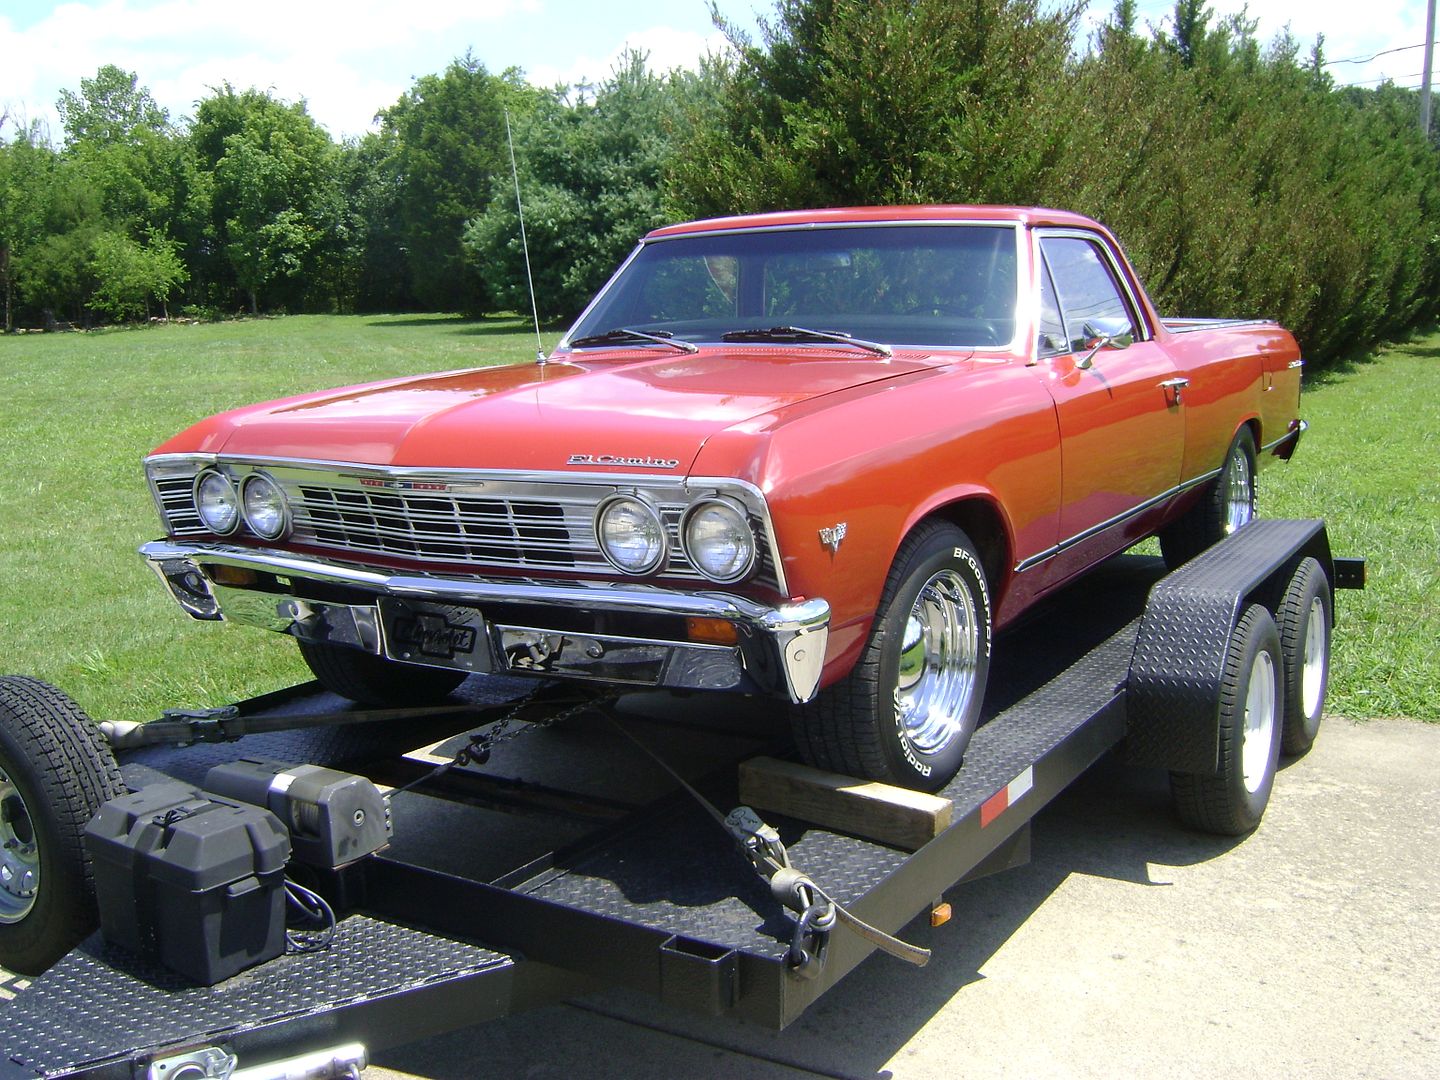
Just brought this one home with the idea of turning it into a NHRA Stock Eliminator ride. After much thought I just could'nt bring myself to install a cage into such a clean and solid little truck, so I'm headed in another direction with it.

Image


Image


Image


Image


Image


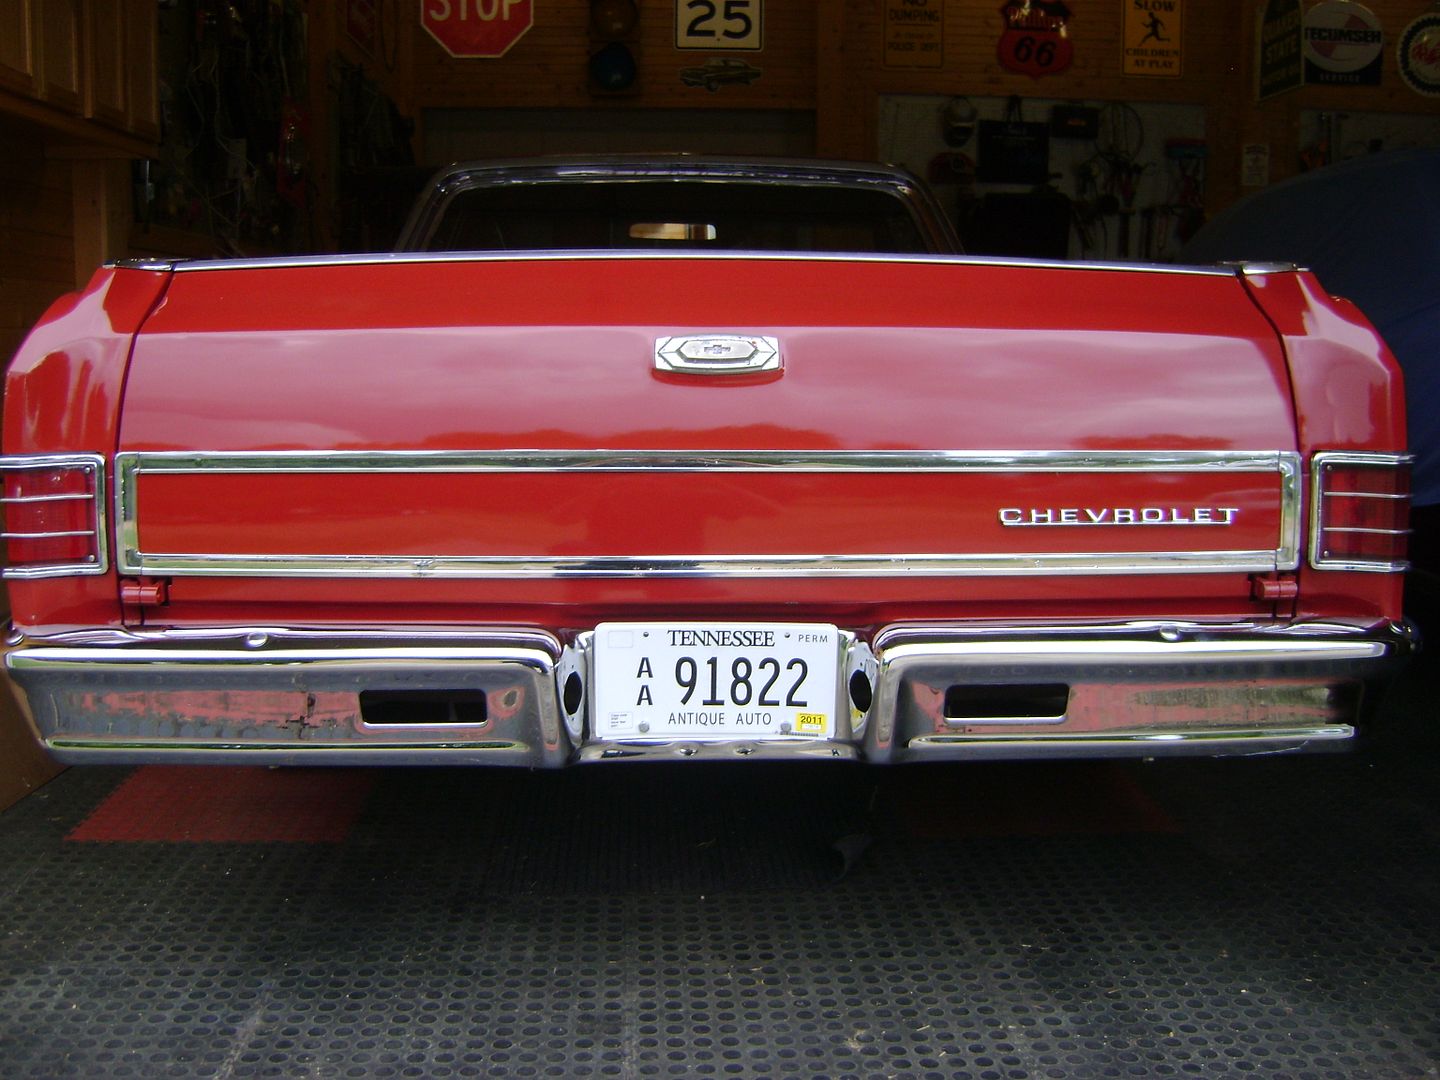
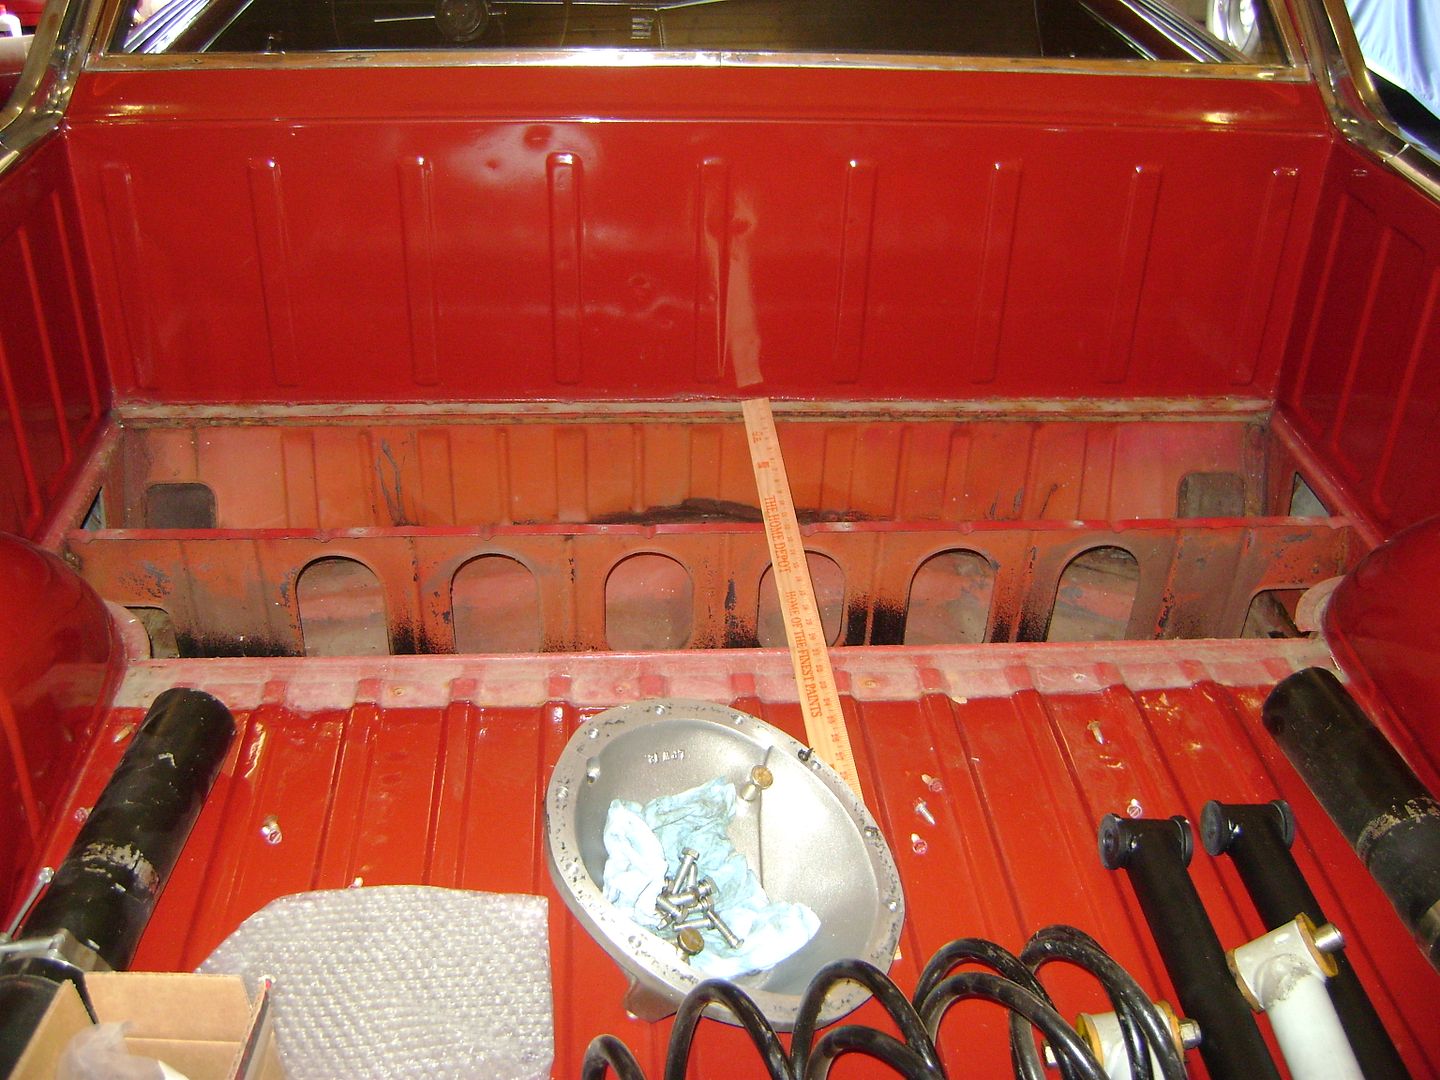
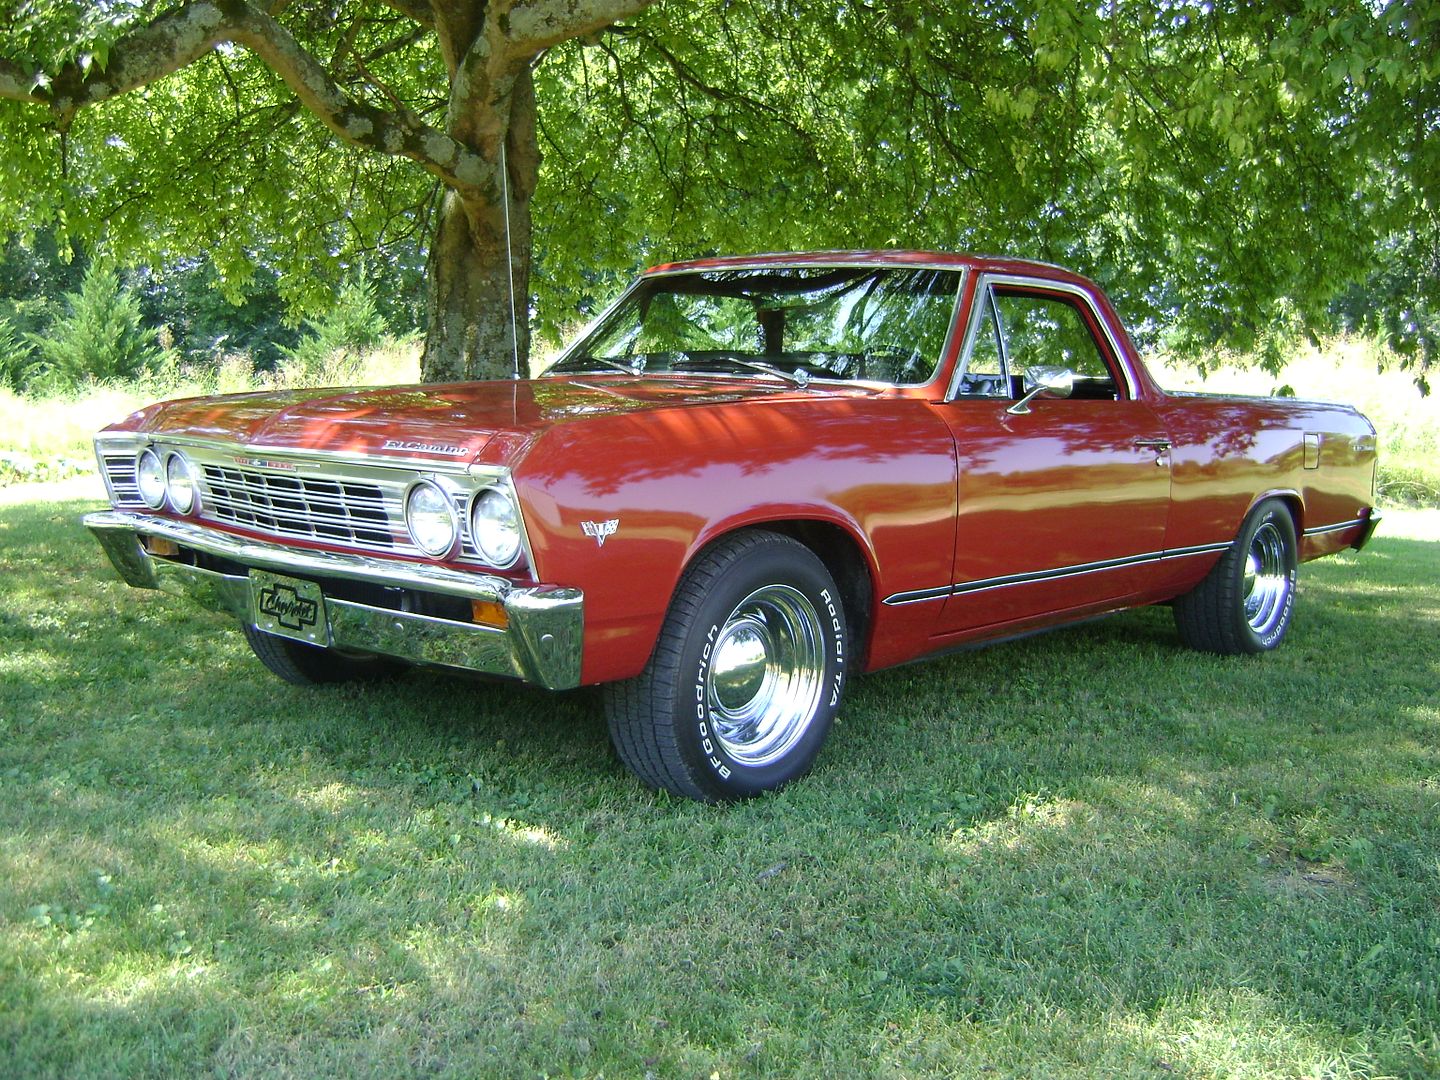
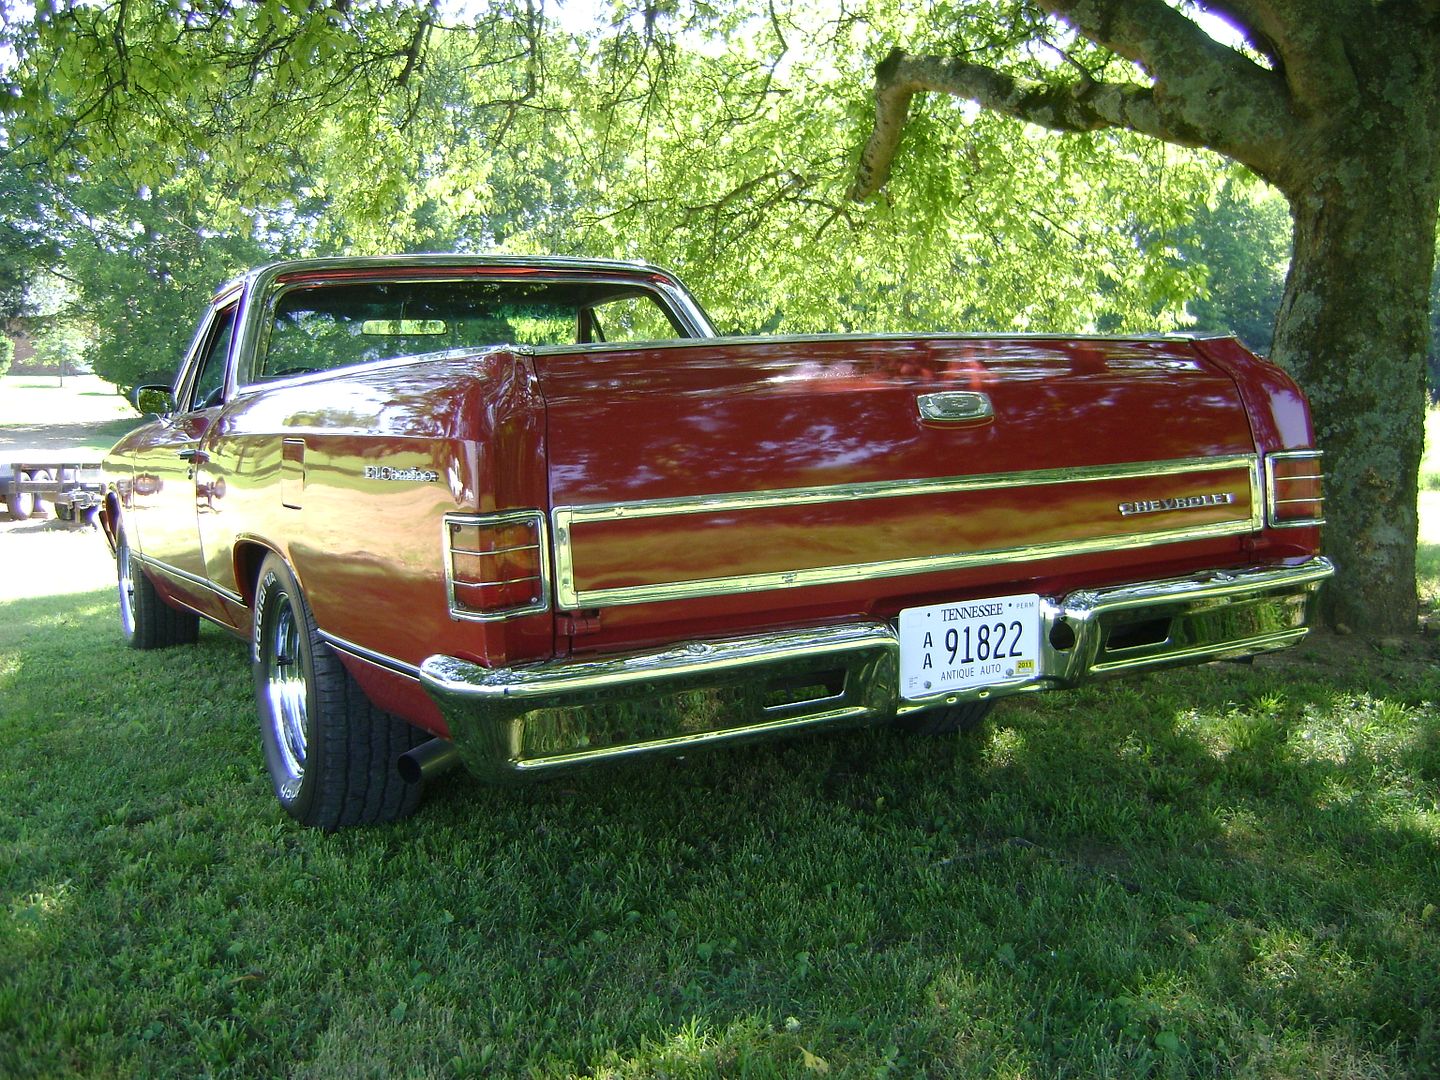
I've owned three other Camino's over the years ('71, '72, '65)...the '65 I really miss as it was probably the most fun daily driver I have ever owned. This one will be spiffed up and driven...maybe not daily, but it will be used with trips to the drag strip from time to time. Currently a 283 w/4-speed and 12-bolt w/3.73 Auburn locker. Paint is an older version of about 10 years age the best I can gather...while still in decent shape I just can't describe the color, so that will be the first order of business.

Tentative schedule:

paint
suspension/brake upgrades
396/350 upgrade
possible 5-speed manual
 
#3 ·
Probably going back with Ermine White which was the original color. I can live with white for a long time and it won't hurt during the summer months with no air. :wink2:
 
#5 ·
I have a question about the tailgate trim/moulding. I have found all the moulding I want to replace on the truck with the exception of that rectangular trim piece on the exterior of the tailgate...is it fastened with clips, studs or glued on? Any vendors offer those pieces for a '67? I would like to go back with the woodgrain insert, but those pieces are a little ratty looking.

Image
 
#11 ·
that rectangular trim piece on the exterior of the tailgate...is it fastened with clips, studs or glued on?
Rich,

You should be able to pull the inner panel off the tailgate and tell if the trim is held on by studs.

Nice looking 2nd gen. I'm hopful that one day soon, we will see separate sub-forums by generation - that will generate more cross talk between year model/generation owners. :texas:
 
#9 ·
Pulled the existing adhesive side trim off the vehicle today to see what was underneath. Found the doors had the holes for trim clips, but the fenders/quarters had none. I'm guessing the fenders and quarters were replaced at some point.

The question now is what to do about the side trim pieces. I have no clue what is involved for trim/moulding clips nor where to place them...drilling holes involved? At any rate this must be decided before paint. I could just run the door piece alone, but that would probably look funky.

Image


Image


Image


I almost forgot about the smugglers box on these trucks...that access hole to the quarter will be handy as it is almost directly opposite to a small dent that needs attention.

Image


Image


Image
 
#12 ·
Yes, I found them Les...very large studs to boot. Mine are kind of ratty looking and the lower piece is into in one spot. Odd how you can get repro's of any trim on these vehicles with the exception of those pieces. I may have located a used set and will know next week.
 
#13 ·
I would welcome some honest opinions and advice from those in the know. I need to address this before starting the body work and paint.

I have two routes to go with - I can either just weld up the holes in the door skins and go with a rocker moulding like this...

Image


Or I can find someone to locate/mount the side body moulding across like this...

Image


I would be satisfied either way, but I don't know which would be the least painful.
 
#15 ·
Louvered rockers from a 67 would be da cats meow! :bigups:
 
#16 ·
The tailgate trim designates a custom model. You only had 2 options in '67, custom and standard. Unless I'm wrong the custom had simulated wood trim within the stainless steel trim.

Jim
 
#18 ·
The 66 Super Sport/ElCamino Custom rocker molding is available and is retained with screw on retainers and a few screw on the bottom of the car.

HOWEVER

The rear piece----Rocker Extension----on the Quarter panels are not reproduced or available for the ElCamino.

The passenger car Super Sport molding is quite a bit shorter and has different angles to it.

If you have no fender holes of quarter panel holes for the 67 Malibu trim on your car, but have the holes in the doors----possible the doors have been changed.
Good decent quarter panels for that car have not been available for a long time.

As far as locating and mounting the 67 Malibu trim----I would probably just go with
the molding/emblem tape probably available in the better auto paint stores.
It is available in several widths and stays stuck on.

Locating----just above the lower body line
 
#24 ·
Yep...something else I need to work on. Wonder how difficult it would be to locate a manual tilt steering column?

This is the basic look I'm after. There may be a little autocross action in it's future. :wink2:

Image
 
#26 ·
Yep---sure is a 65
The 67 is virtually identical tot he 66 except the 67 has backup holes
 
#27 ·
That figures...looks like I will be buying a new bumper along with the new trim pieces.

Going to try to get the rest of the trim off this weekend and the glass out as well. I can then begin on this sure to be long winded project.
 
#30 · (Edited)
Spent a little time on it this morning trying to get to the point where I can begin some body work. I had all the trim off the truck save for around the windshield and back glass. I managed to crack the windshield early on trying to remove the trim...I just don't have the experience to be messing with the stuff.

Image


Windshield removed...

Image


Image


Image


The only rust issue I have come across is where someone previously did a poor job sealing the roof gutter/driprails. I'll take a wire wheel to them later to see what needs to be done.

Image


Removed the door frame trim...I may not go back with these in the end.

Image


Image


I likely will let someone else remove the back glass and trim. The wide surround moulding...are the pieces held on by studs?

Image


Image


It appears it will be next to impossible to do a proper job without removing the tailgate...will have to enlist some help to get it off.

Image


Image


Image
 
#31 ·
Cab surround moldings

The side ones can be removed easily enough (ha ha)
Remove the interior sail panel piece
There should be a nut up toward the upper half of the molding
Not easy to get to but it will come out with some patience
Remove the screw at the bottom under the side rails
Gently pry away from the body
There is a retaining clip that holds on REAL good and clips onto the ball end of the stud the clip goes into. Might be a good idea to get some help----one person tugging at the molding while another figures out a way to get into the tiny "B" pillar and try to pry the clip apart.

The upper molding----pull the rear of the headliner down----about six nuts holding both pieces.
Can only get to them with out the headliner in the way.

Good luck---be prepared to replace them if that stud pops off while prying loose (side pieces)
I should mention that stud is not a 'solid' stud----it is more of a ball and socket connection tot he molding.

Do NOT lose the clips that hold the side piece on---not sure you can get new ones
Those clips should stay in the body as they are stamped with barbs (like a barrel nut) to hole them in place.
If they stay there----leave them there-----if they come out---don't lose them
 
#32 ·
Thanks Bryan - I figured the headliner was going to have to be pulled out. All trim is being replaced and all ten of those side clips are still attached to the bed sides.

Image
 
#33 ·
The clips I mentioned are the clips behind the cab molding
Those are the bears to to get released and they are pretty much not available.
They press into a larger oval hole. A hole a bit larger than the holes in your door on the side