

Sorry I had to separate this into multiple posts, you are limited to 20 pictures per post.
Don't forget to vote up my rep for this post if you like what you see.
If you have any questions or suggestions of things I missed, please PM or email me so I can add it in line with my other posts so it is smooth flowing and easy to read. Thanks!
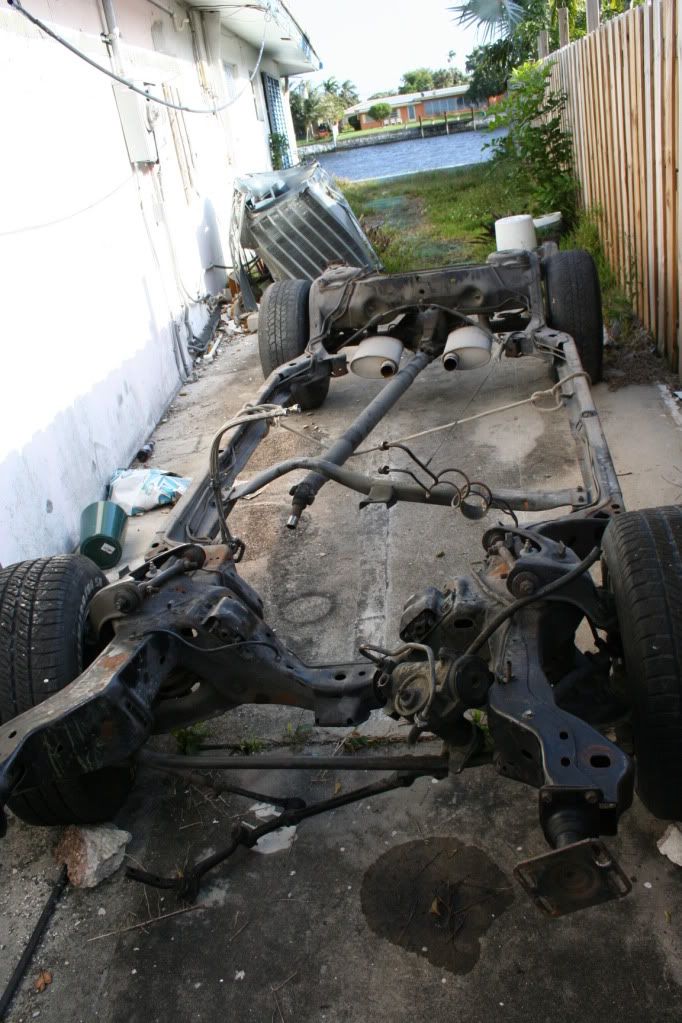
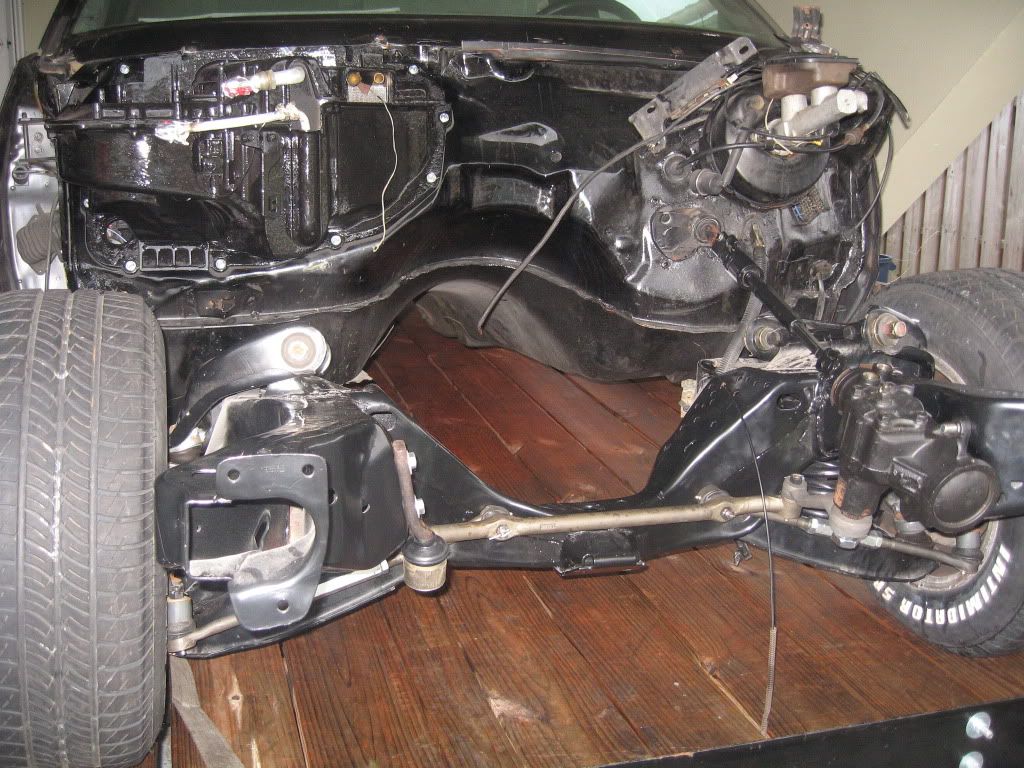
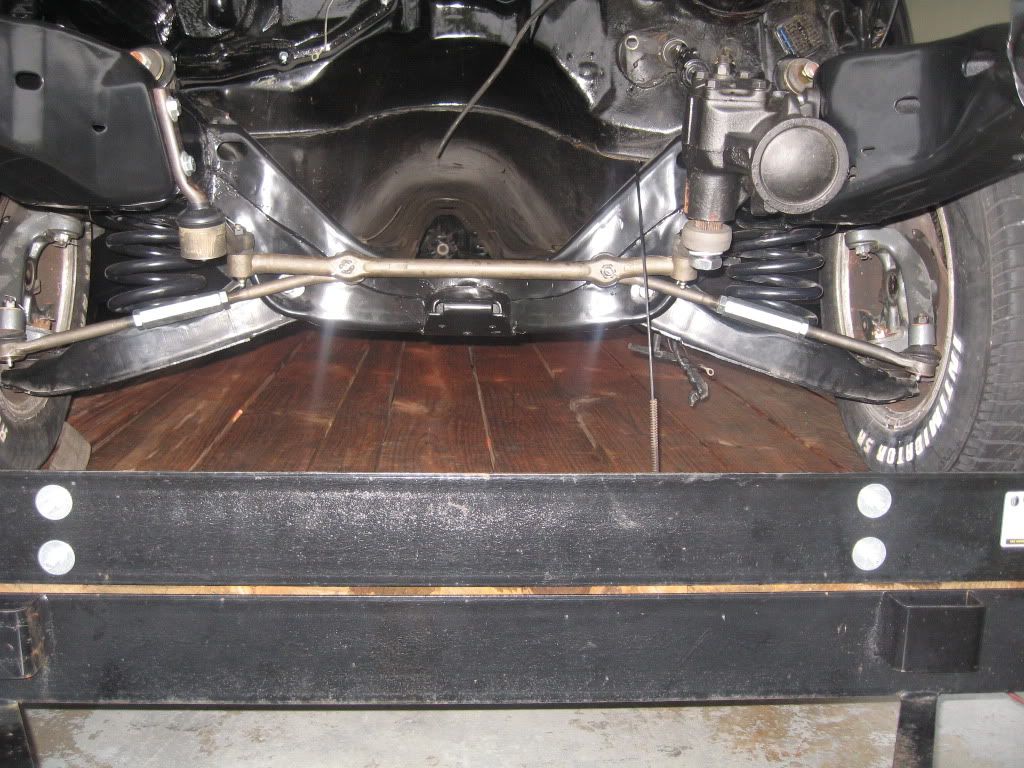
This is a thread to help give ideas about setting up the front end of your elky, as well as giving you 360 degree views of the car with the body off, and show you some of my progress. This is basically the front end that I started with.
![Image]()
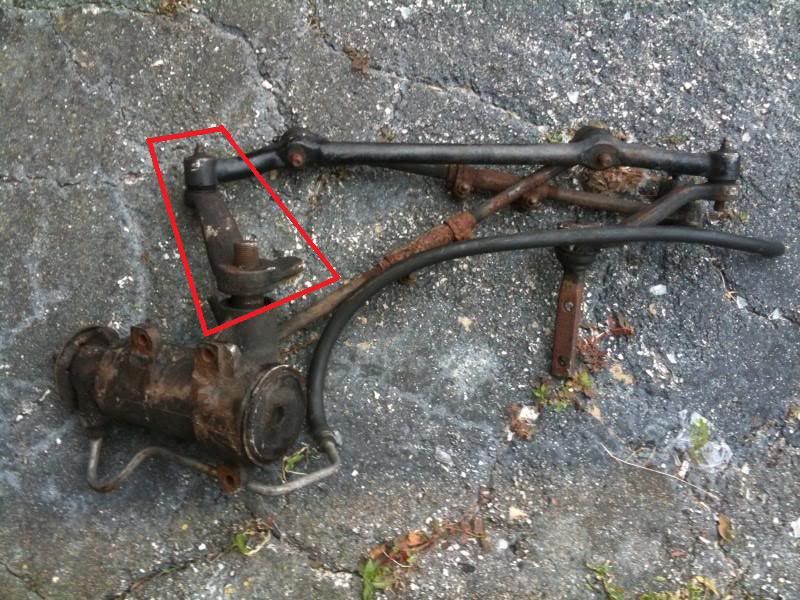
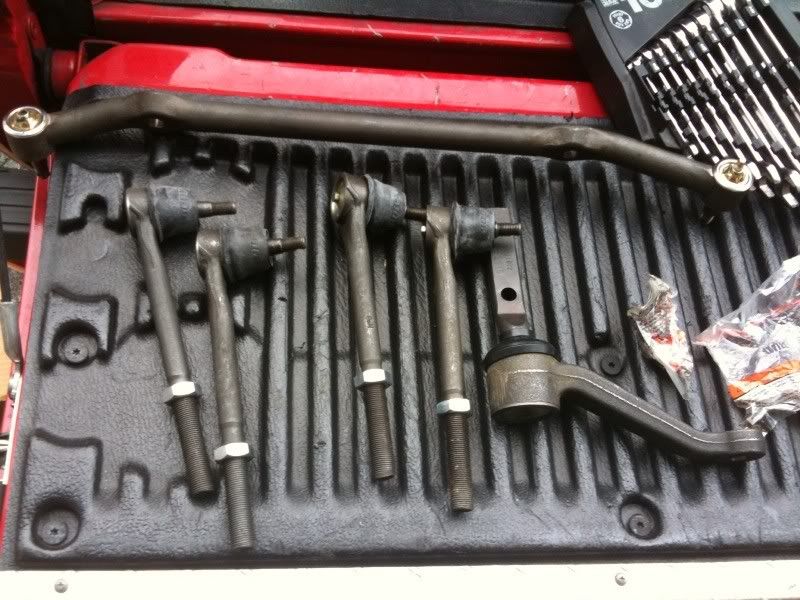
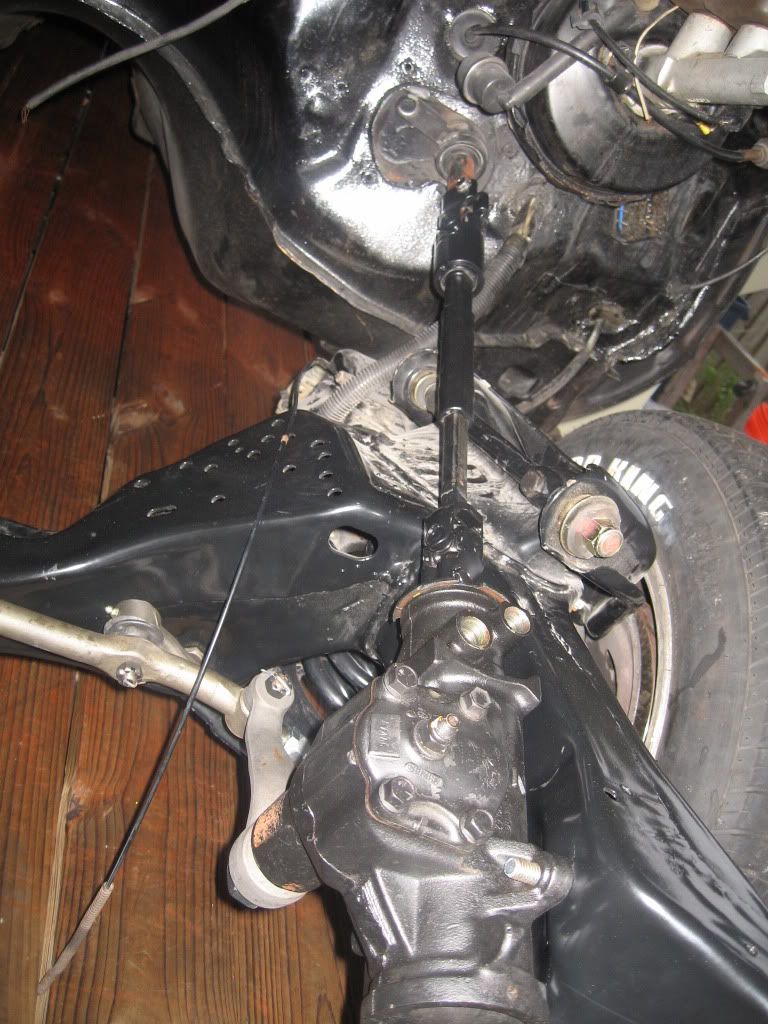
Step number one was to take off the old nasty looking steering linkage. (don't mind the highlighted pitman arm)
![Image]()
![Image]()
Once that was done, it was time to open up the new Moog front end rebuild kit.
![Image]()
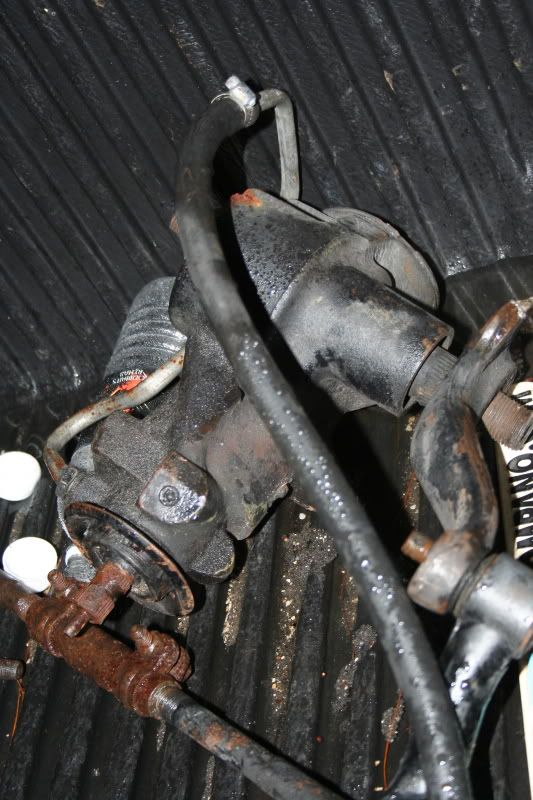
Also, with the stock steering box nearing the end of its life, I thought it was time to upgrade to a new Monte Carlo SS quick gear steering box. This is a direct bolt in.
![Image]()
Another new part I discovered I needed while tearing apart my elk was a new steering shaft. The stock ones rag joints are prone to tearing over time which give the car kind of a sloppy feeling. The sell rebuild kits for them.
![Image]()
![Image]()
![Image]()
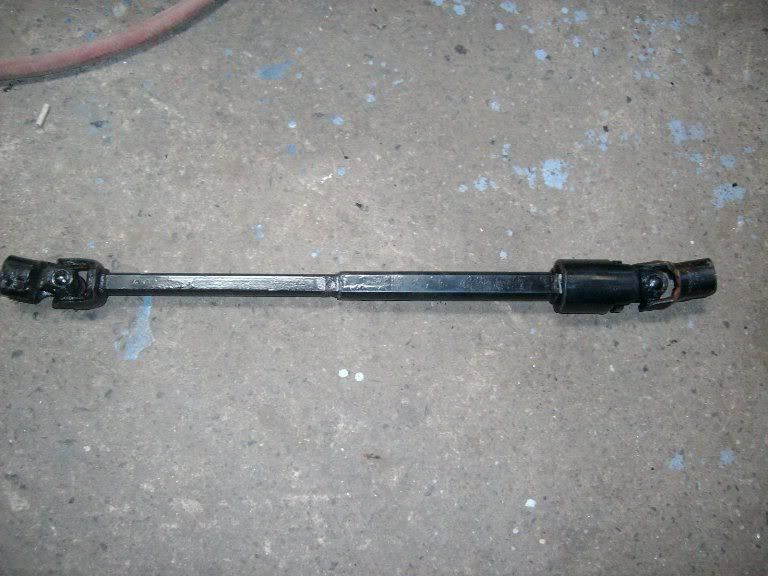
I opted to purchase a solid Jeep steering shaft. It is a direct bolt in and they are a no wear unit so it will not need maintenance ever. You can get this part from a 1994 - 1995 Jeep Gran Cherokee. The jeep steering shaft eliminates the rubber and plastic bulky stock shaft with a solid metal one. This allows for a cleaner looking engine bay and more responsive drivability.
![Image]()
A list of new suspension parts off the top of my head that are installed or in the process of being installed on the front end would consist of:
New Stock Height Springs
2" Drop Spindles
QA1 shocks
Tubular A-arms
Polyurethane bushings
Monte SS quick ratio gear box
Moog Front End Rebuild Kit
Moog Ball Joints
Hotchkis Front Sway Bar
Jounce Bars
Grand Prix bar
Baer brakes 14" rotor
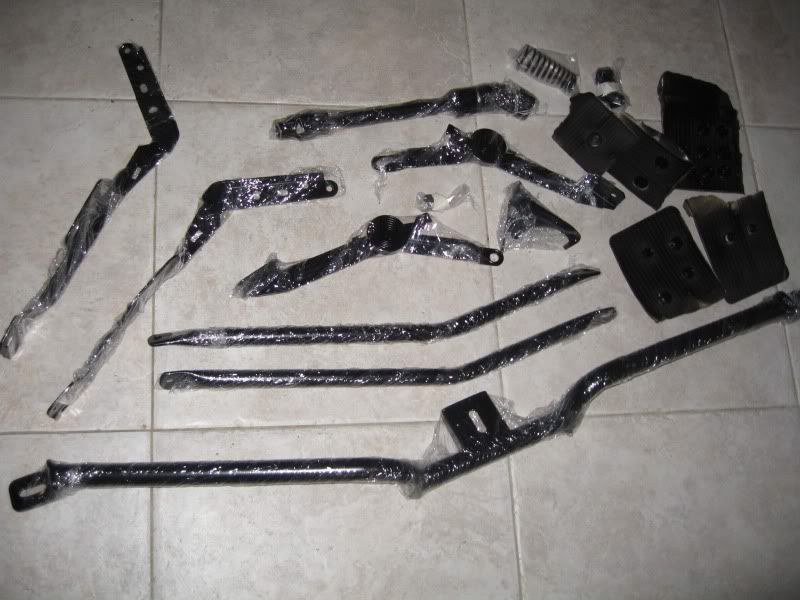
Not many people are familiar with the Jounce bars or the Grand prix bar. They add extra support and help to eliminate rattle. They are a direct bolt in and the holes are pre drilled from the factory. All three of these create a triangle of support. They are pictured below in a batch of powder coated items... and yes, I did go over board and powder coat bolts, nuts, and even my hood spring.
![Image]()
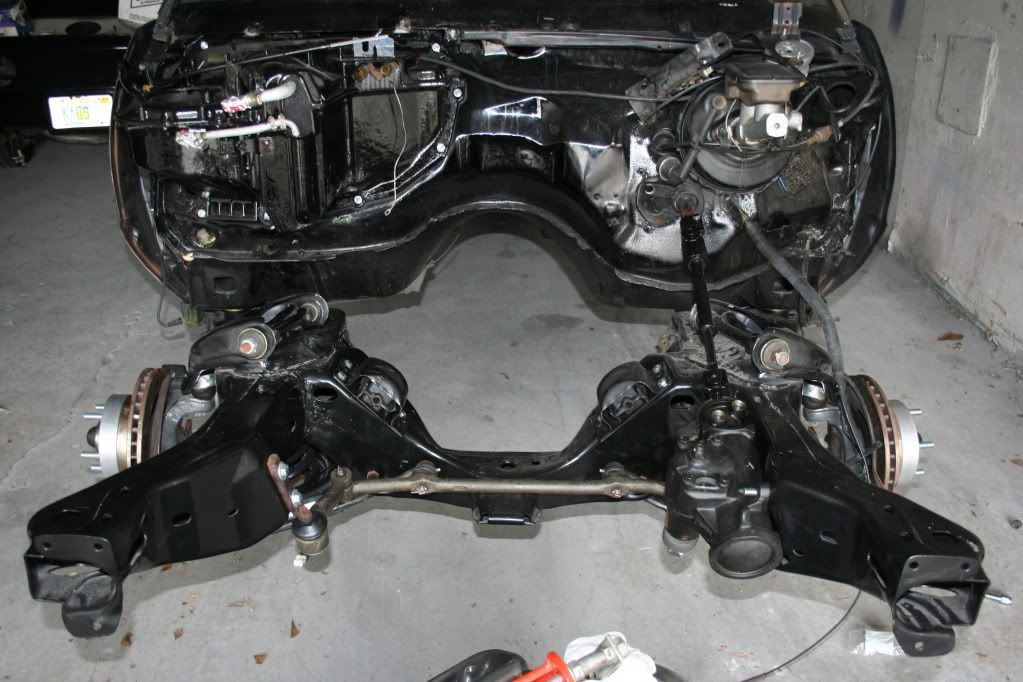
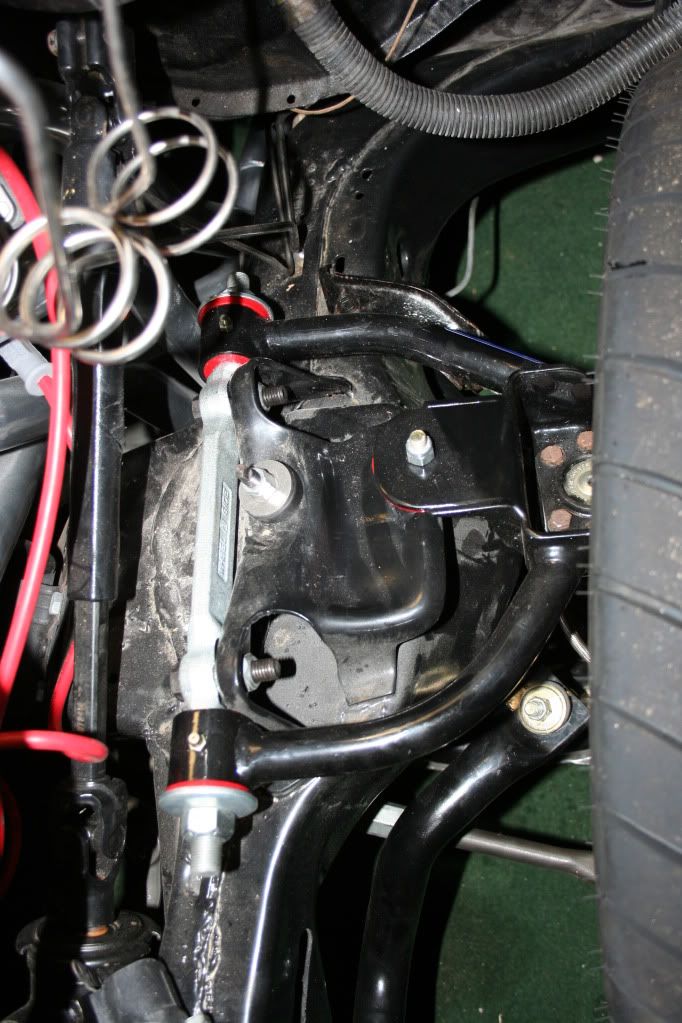
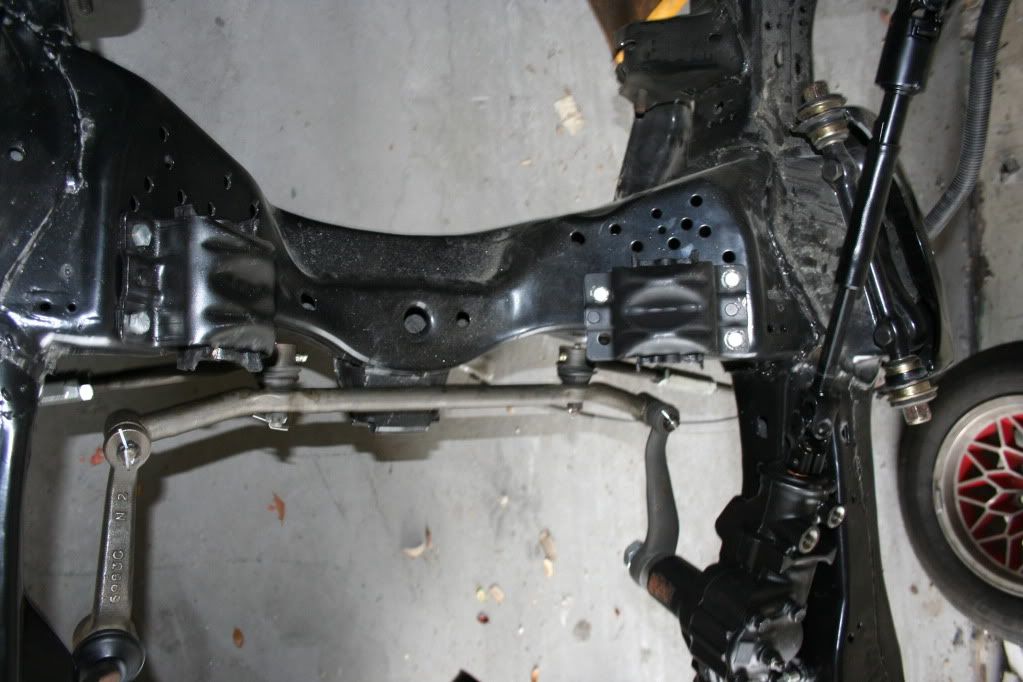
Now that I have these new parts, along with the frame and other components powder coated, it was time to reassemble the front end.
![Image]()
![Image]()
![Image]()
![Image]()
![Image]()
![Image]()
If your motor is out of the car, there are a couple of things you might want to do. I replaced the motor mounts which was really cheap, painted the firewall, and painted the AC box and replaced the seal.
![Image]()
![Image]()
Don't forget to vote up my rep for this post if you like what you see.
If you have any questions or suggestions of things I missed, please PM or email me so I can add it in line with my other posts so it is smooth flowing and easy to read. Thanks!
This is a thread to help give ideas about setting up the front end of your elky, as well as giving you 360 degree views of the car with the body off, and show you some of my progress. This is basically the front end that I started with.
Step number one was to take off the old nasty looking steering linkage. (don't mind the highlighted pitman arm)
Once that was done, it was time to open up the new Moog front end rebuild kit.
Also, with the stock steering box nearing the end of its life, I thought it was time to upgrade to a new Monte Carlo SS quick gear steering box. This is a direct bolt in.

Another new part I discovered I needed while tearing apart my elk was a new steering shaft. The stock ones rag joints are prone to tearing over time which give the car kind of a sloppy feeling. The sell rebuild kits for them.


I opted to purchase a solid Jeep steering shaft. It is a direct bolt in and they are a no wear unit so it will not need maintenance ever. You can get this part from a 1994 - 1995 Jeep Gran Cherokee. The jeep steering shaft eliminates the rubber and plastic bulky stock shaft with a solid metal one. This allows for a cleaner looking engine bay and more responsive drivability.
A list of new suspension parts off the top of my head that are installed or in the process of being installed on the front end would consist of:
New Stock Height Springs
2" Drop Spindles
QA1 shocks
Tubular A-arms
Polyurethane bushings
Monte SS quick ratio gear box
Moog Front End Rebuild Kit
Moog Ball Joints
Hotchkis Front Sway Bar
Jounce Bars
Grand Prix bar
Baer brakes 14" rotor
Not many people are familiar with the Jounce bars or the Grand prix bar. They add extra support and help to eliminate rattle. They are a direct bolt in and the holes are pre drilled from the factory. All three of these create a triangle of support. They are pictured below in a batch of powder coated items... and yes, I did go over board and powder coat bolts, nuts, and even my hood spring.
Now that I have these new parts, along with the frame and other components powder coated, it was time to reassemble the front end.

If your motor is out of the car, there are a couple of things you might want to do. I replaced the motor mounts which was really cheap, painted the firewall, and painted the AC box and replaced the seal.


 oke:
oke:


